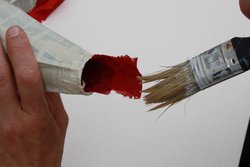
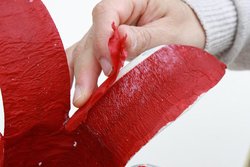
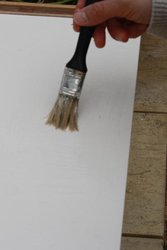
Paste the surface of the flower and lay a strip of paper. Press it down with your finger and then brush it firmly down. Be careful not to drag the paper as you brush.

- Laying the paper strips

Make sure the inner layer goes right to the bottom. Tear off the protruding piece.
- Laying paper right down to the end

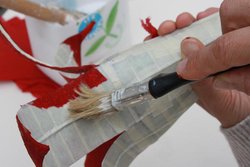
- Brushing down edges

- Pressing down gently with finger

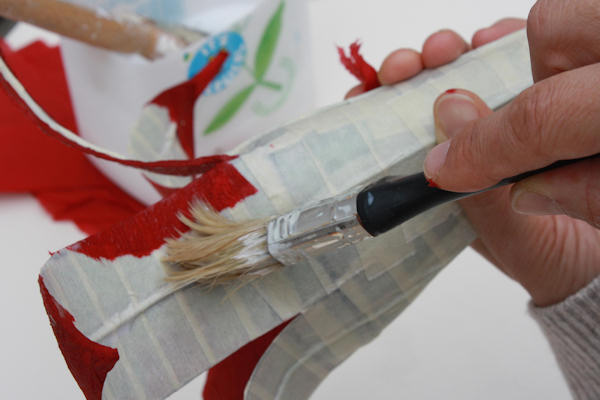
Reinforce the edges with thinner strips. It should look like this.
- Reinforcing the edges

- Covering all the petals

- Gently pressing down the strips

- Petals fully covered
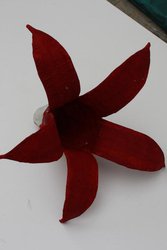
- Finished petals

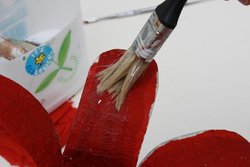
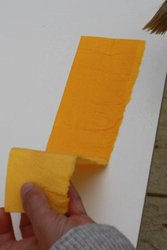
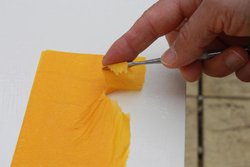
Tear some strips of yellow paper. Now for the sophisticated bit! On a plastic or glass surface, lay a good dose of paste, slightly larger than half the length of the paper you will be using.
- Pasting a hard surface

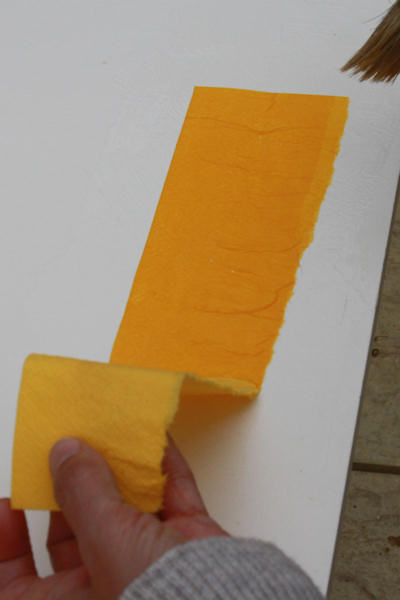
Lay the paper strip on the wet surface. Press with your hands over the moist half of the strip and then brush a little more paste over the surface. Fold the dry half of the strip over the first and press it firmly with your hands. Brush a little more paste over the top surface.
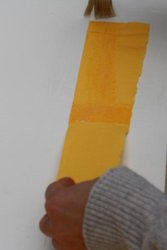
- Laying the yellow paper

- Folding the dry half of the strip over the moist half
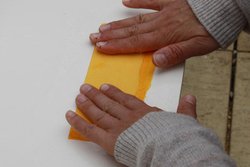
- Pressing firmly with the hands


- Brushing a little more paste over surface
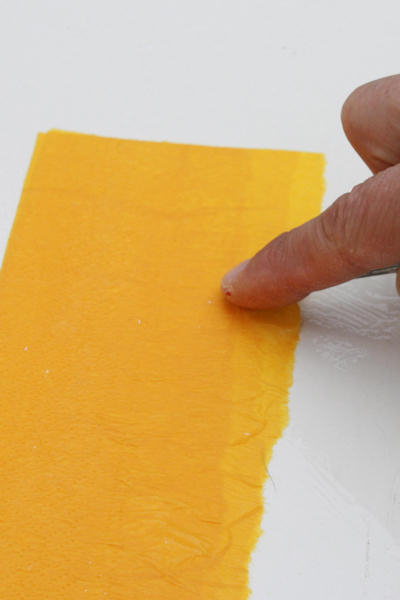
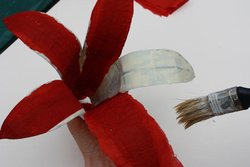
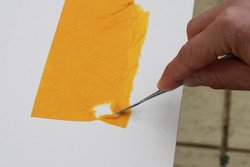
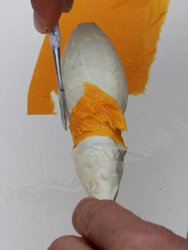
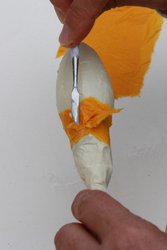
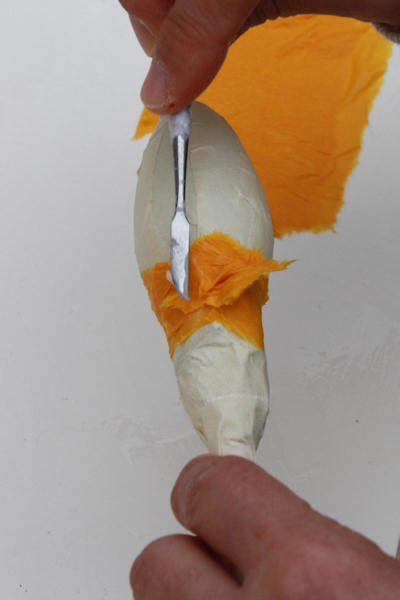
Now, using a plastic knife with the serrations cut off (or a modeling tool) ease the tip under the laminate and lift off a strip. This improves with practice.
- Lifting a strip of the laminate

Place the strips on the pistil and smooth down. Scrape smaller pieces from your paper and use these to fill the angle between the dowel and the pistil.
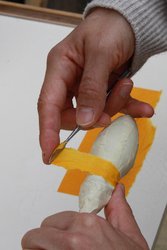
- Placing strips on pistil

- Scraping up smaller pieces of the laminate


- Filling in between the dowel and the pistil
- Building up the base of the pistil

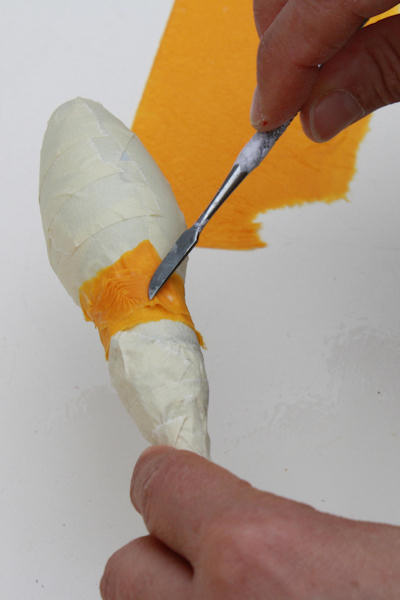
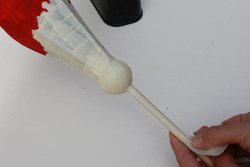
Continue until the pistil and its stem are covered with yellow, down to the mark you made for the position of the table-tennis ball.
- Covering the pistil

- Covering down to the marked position of the tennis ball

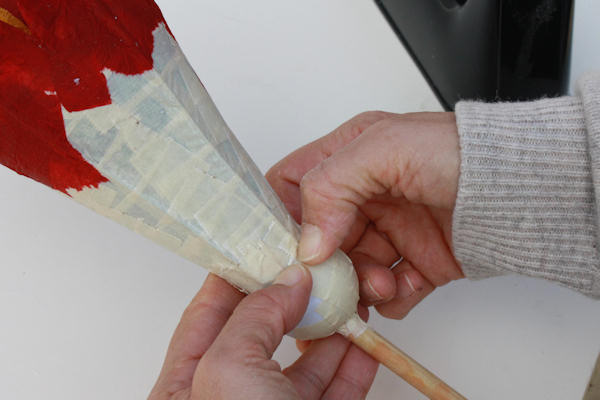
Insert the pistil and stem into the flower. Slide the table-tennis ball just above the mark you made and fix firmly with masking tape.
- Inserting the pistil and stem into flower
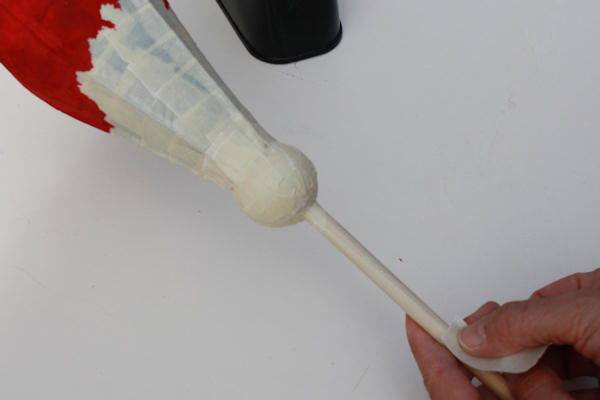
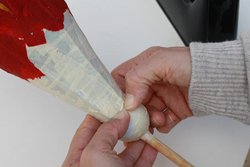
- Taping the tennis ball in position
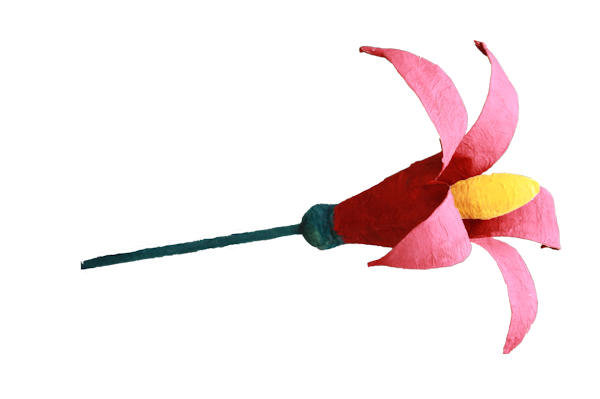
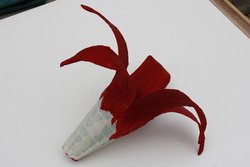
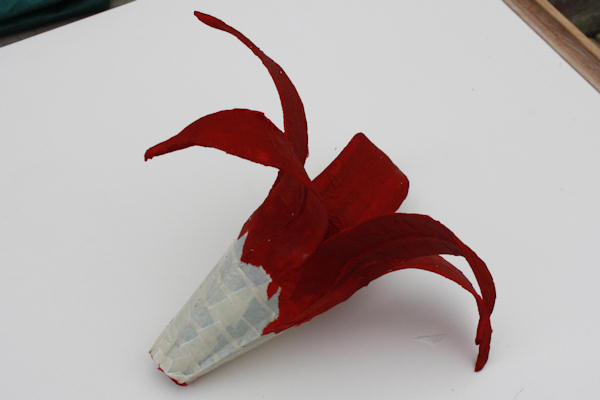
Resume the application of the red layer to cover the bottom of the flower. Use a green paper to cover the ball and the 'stem'.
The finished article
When it is dry, display it or give it to someone you love.

- Finished