Acknowledgements: Photography and language support provided by David Osborne.
Introduction
In this tutorial I will show you how to make a flower and introduce you to my special technique. There is more about this as well as some advanced designs in my book, available as an e-book from my website: http://www.nivescicinsain.com.
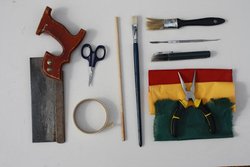
You will need
- Materials 1

- Materials 2
- a saw
- fine scissors
- masking tape
- two pasting brushes (one fine, one bigger)
- a length of dowel at least 3/8" (9mm) wide and 20” (500mm) long
- one modeling tool
- a permanent marker
- pliers/wire cutters
- coloured serviettes (napkins)
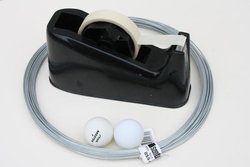
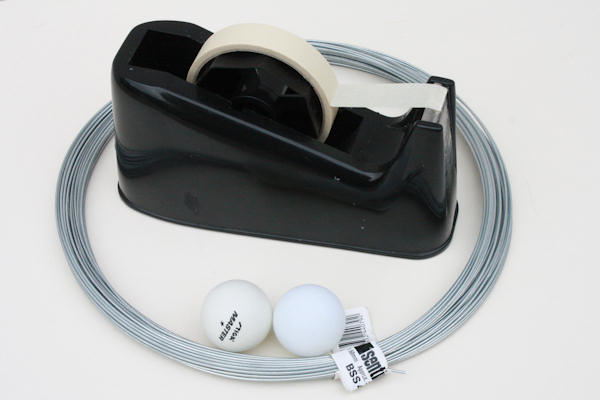
- wire
- table-tennis ball
- paste
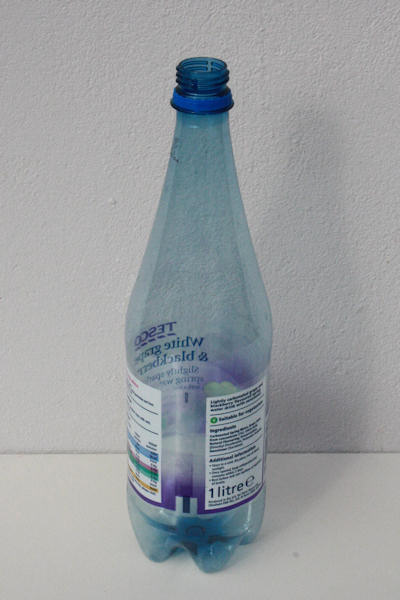
- an empty plastic drinks bottle
Let's go
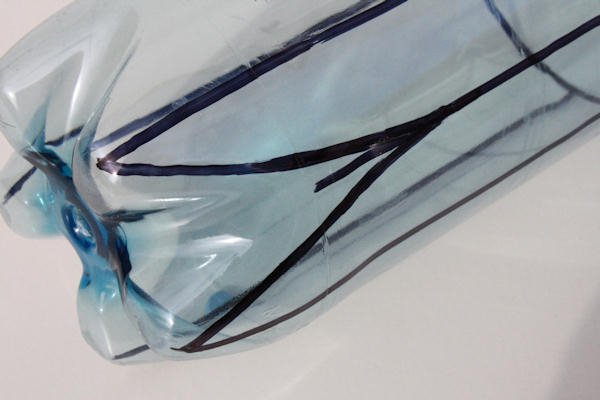
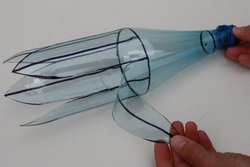
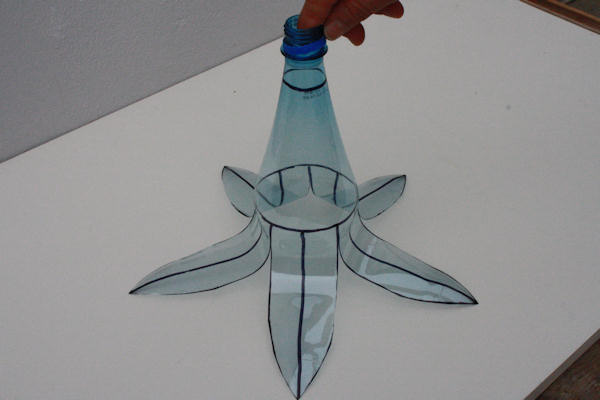
With a waterproof pen, draw one ring near the top and one about half way down, before the bottle begins to taper. Join the middle line to the point of each point on the moulded base.

- Drawing rings

- Drawing lines
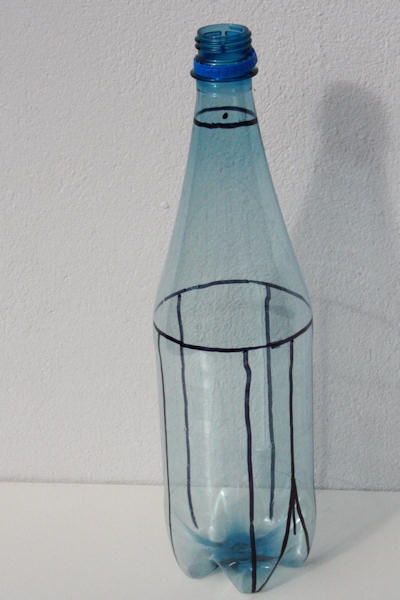
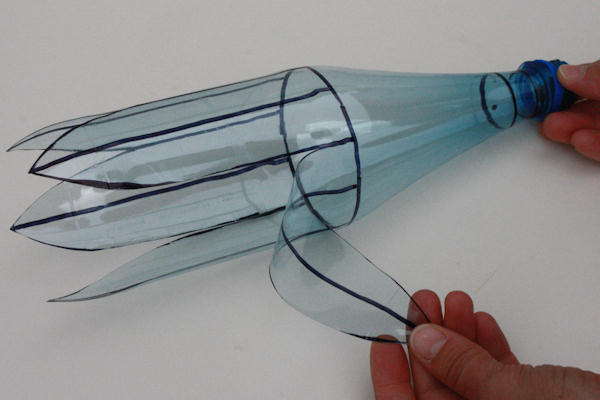
Draw a line between each pair of lines already drawn and curve to the point.
- Drawing in between the lines

- Drawing petal shapes
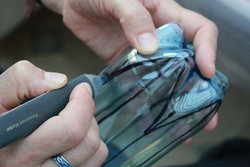
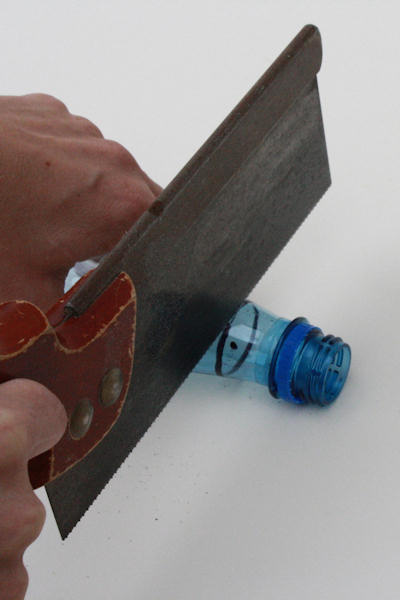
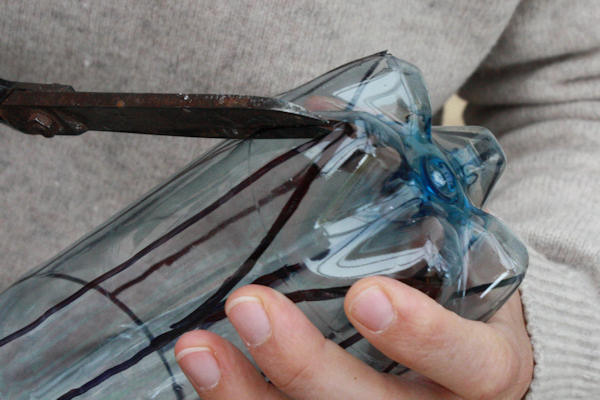
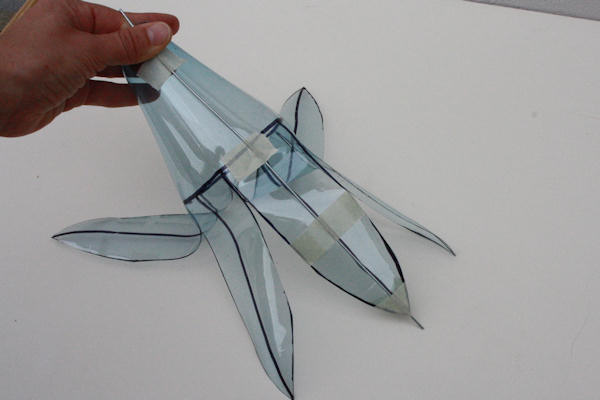
Before cutting the petals out, saw off the end at a point that is big enough to cover about a third of the table-tennis ball.
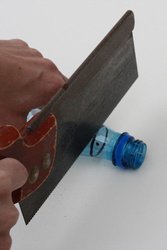
- Sawing

- Cutting
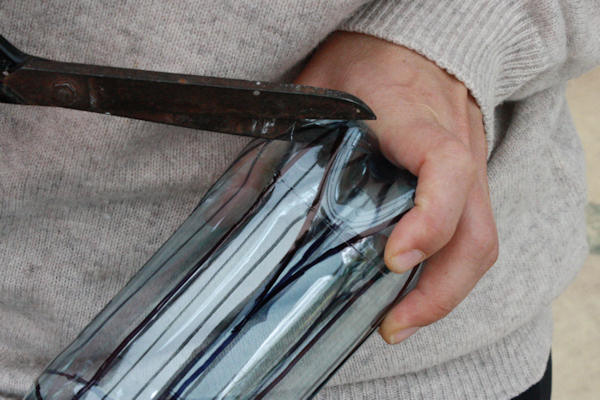
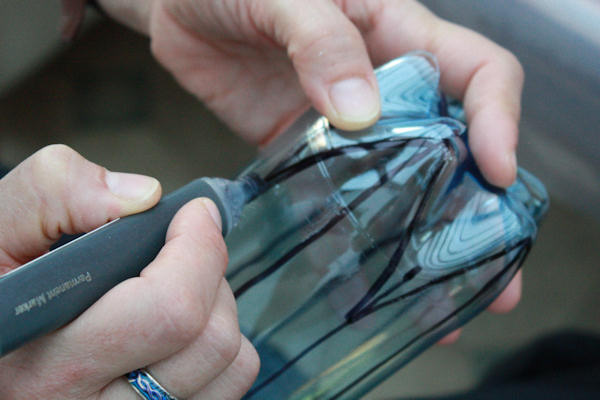
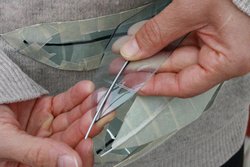
Cut carefully along the lines which curve round to the tip, to release each petal.

- Cutting round the curves
- Releasing each petal

- Splaying out each petal on a table
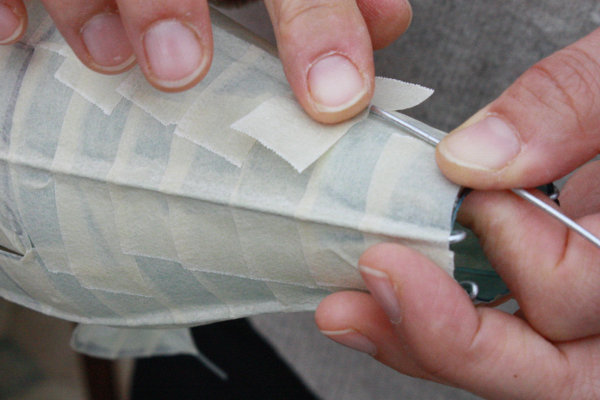
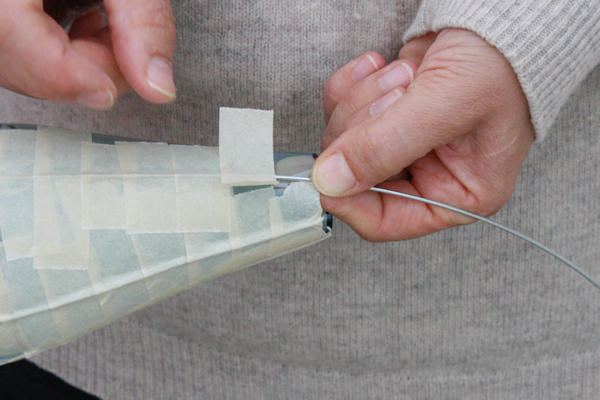
Cut wire that is about three inches (75mm) longer than the central line of each petal. Hold it in place with masking tape with about half an inch of wire (12mm) protruding at the petal tip.

- Taping wire to a petal
- Adding wire to each petal

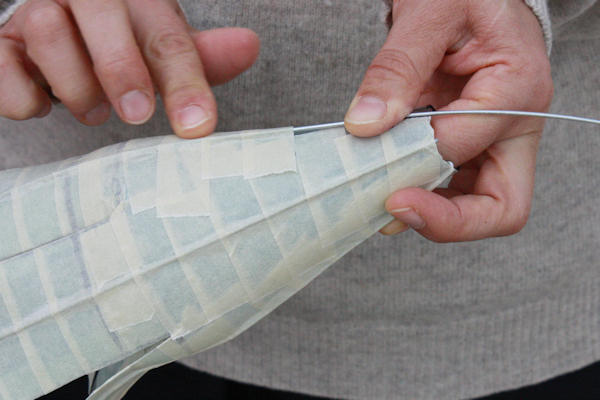
Do this to each petal and cover the outside completely with masking tape. Fold the tape round the edge of the petal to the inside.

- Fixing wire in place with masking tape
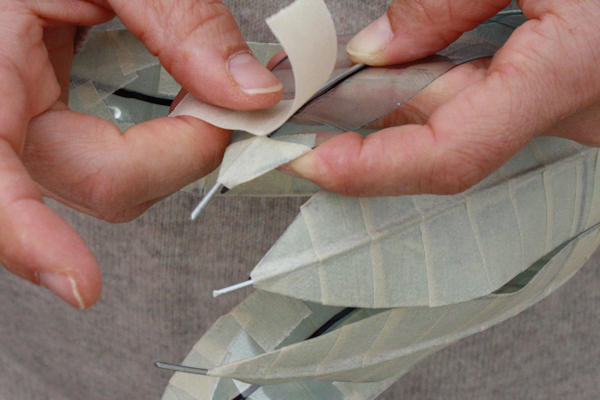
- Taping from the outside


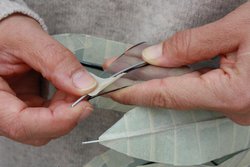
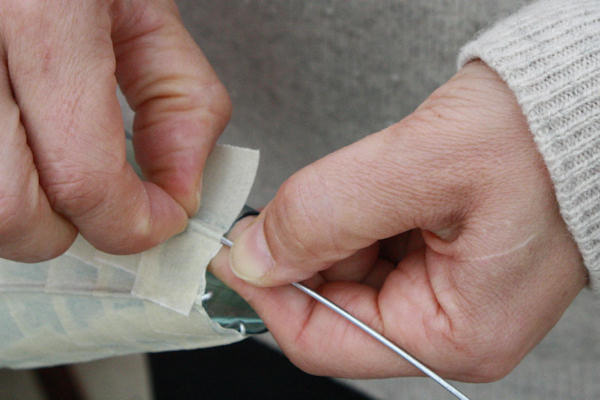
- Taping all the wire down firmly

- Covering every piece of the flower

- Firming down the masking tape

- Covering all the edges

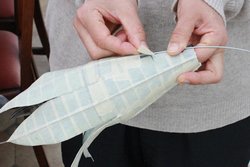
- Taping wire down the side of the flower
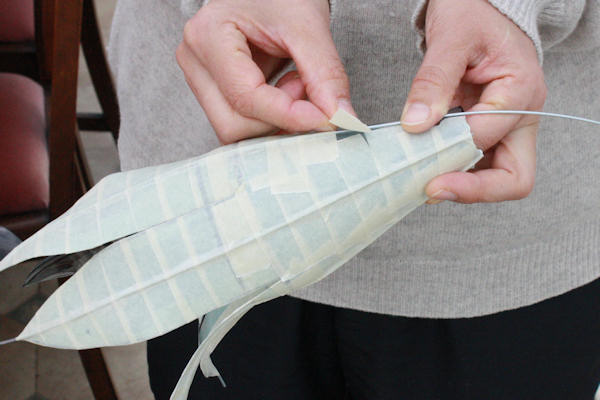
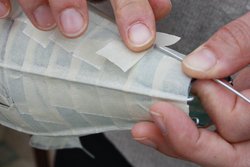
- Finishing off the taping