You will need...
- 1 x 10.5" 18 guage wire (Arm)
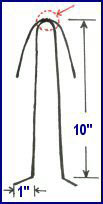
- 1 x 22" 18 guage wire (Body)
- Wall paper paste
- 1 x 1" Styrofoam ball
- PVA (or ELMERS) glue
- Washi paper
- Awl
- 1 x Tooth pick
- Paper towel
Choosing a picture
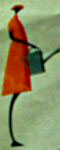
Choose a simple wall picture like this one, under 12" high. This poster-like picture is not in proportion, so you may choose a larger head size or shorter body.
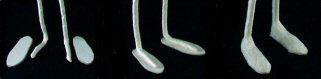
Making the Body
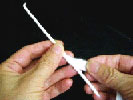
Hand tear a strip of washi paper 3/8" wide and wrap around the wire. Add more layers for thicker arms and legs.
- The body
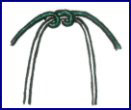
Attach body wire to arm wire.

Cut paper towels to about 5" - enough volume to shape a body. Lay in between body wires, front and back.
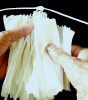
- Layering
Paste 1" hand torn strips of washi paper and wrap around the body. After drying, cover with a least two more layers.
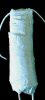
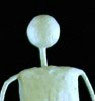
Making the head
Cover with several layers of Washi paper, including the neck. The torn strips should be no larger than your finger nail size.

- The head
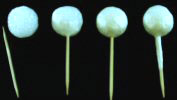
- Attaching the neck
Trim neck down to about 1 1/2" from the head. Use awl to make a hole in the body. Put some glue in the hole and insert the neck.
